Remote Push Install


|
Remote Push Install |
|
|
This method of remote install pushes ESET client solutions to remote target computers. Target computers should be online. Supposing that all workstations are turned on, the push installation method is the most effective method. Before starting a push install, you must first download the .msi install files for ESET Smart Security or ESET NOD32 Antivirus from ESETs website and create an installation package. You can create an .xml configuration file that will automatically be applied when the package runs. Please see the chapter on Requirements prior to installation.
To initiate a push installation, follow the steps below:
1) Once computers suitable for remote installation are listed in the Computers tab, you can select all or some of them and run a push installation task by right-clicking in the window and selecting Push Installation from the context menu.
2) Set the logon information for computers in the list (Set, Set All). This must be done while using an account with administrator rights. You can still add clients to the list in this step by using the Add Clients Special feature.
3) Select the desired install package to deliver to target workstations.
4) Set the time when the task is to be run and press Finish.
You can view the push installation task status in the Install Tasks tab. For details of diagnostic results, select the desired task and press F4. The Properties window shows up at the Details tab, where you can view remote install diagnostics results by pressing View All Logs/View Selected Logs.
NOTE: The maximum number of concurrent push installation threads is set to 20 by default. If you send a push installation task to a number of computers exceeding this limit, the additional computers will be put into queue and will wait for the threads to be free. We do not recommend increasing this value for performance reasons; however, if you consider it necessary, you can change the limit in the configuration editor (ESET Remote Administrator > ERA Server > Setup > Remote Install).
Details of the remote installation process are described below:
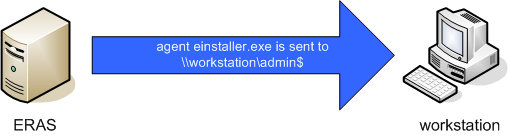
5) ERAS sends the einstaller.exe agent to the workstation with the help of the administrative share admin$.
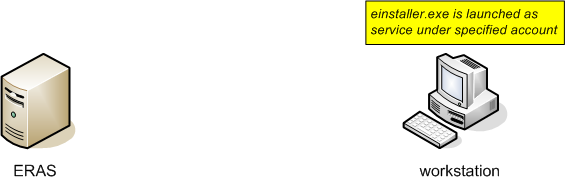
6) Agent starts as a service under the system account.
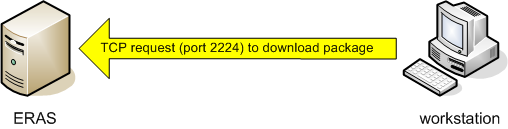
7) Agent establishes communication with its parent ERAS and downloads the corresponding install package on TCP port 2224.
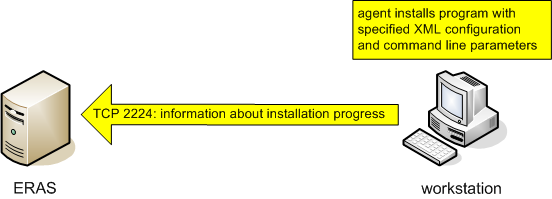
8) Agent installs the package under the administrator account defined in step 2; the corresponding .xml configuration and command line parameters are also applied.
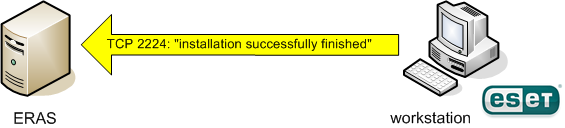
9) Immediately after the installation is complete, the agent sends a message back to ERAS. Some ESET security products require a reboot and will prompt you if necessary.
The context menu (right-click) of the Computers tab window offers these options:
For the other context menu options, please see chapter Context menu. |
|
|